
Want to try yourself against the secret void boss in Risk of Rain 2? Here's how to get to it.
The DLC for Risk of Rain 2, Survivors of the Void, is a very solid purchase. It adds new stages, items, enemies, survivors, and secrets. If you're bored of fighting Mithrix, there's yet another way of ending the game, and it's with facing the toughest boss yet. It's not easy to find, and it will have you traversing deeper in the void than you could imagine.
How to find the Voidling boss in Risk of Rain 2
There are two ways of getting to this boss (well, actually 4, but the last two are pretty random).
- Head to the void fields through the shop (Bazaar Between Time).
- Slay Mithrix and then go back to the beginning of the stage to pet a frog 10 times (yes, for real).
- Select the stage in the shop by paying for it (if it randomly becomes available)
- Randomly get a purple orb with a teleporter to go directly to the void stages.
Void Fields

First, you'll want to make it to the Bazaar Between Time. You can make it there if you randomly get a blue orb with your teleporter, or if you find a Newt Altar. Spend one Lunar Coin at a Newt Altar to guarantee a blue portal that spawns after you complete the teleporter event for that stage. I generally go there after the 5th stage (Sky Meadow), once I have some items, but you can go earlier.
In the Bazaar, start dropping down into the chasm after you spawn (you can check out the offerings first). You'll see a yellow light, so head into that tunnel and take the purple portal to venture to the void fields.
Fuel the 9 Void Cells
In this stage, you take damage at all times, unless you stand in the radius of a Void Cell. The teddy bear used to help mitigate the constant damage, but it doesn't anymore! If you have good healing, like in the form of the Fungus, you can stand around and recharge. Look to the void beams reaching the sky to find the Void Cells.
Each Void Cell will spawn waves of enemies on you. Look at the objective info: the monsters will also spawn with items! If you're unlucky like me once, it will be ranged enemies with Delicate Watches. They spawn with 5 copies of the items. Sometimes they'll get something useless, like a movement speed increase.
Use a high ground advantage when possible. Some enemies may have a hard time reaching you. This part is obviously easier when you're a ranged character. My Mercenary survived by sprinting around (which healed me and gave me damage reduction with the Rose Buckler).
You might also be wondering, how in the world do I have so many legendary items?! It's the Benthic Bloom void item! It will upgrade 3 random items at the start of every stage to their next rarity. So, green items become legendary, white become green, and so on.
There are also many chests in the area, so try looting them as you go. Unfortunately, all your drones will die. Beetle Guard and the drone from the new legendary item, Spare Drone Parts, persist.
Beating every void cell grants you an item choice as well, with green items showing up later and then a legendary item at the end.
Once you fuel 9 cells, the void fog clears, and two portals will appear. Take the uh… more purple one to go deeper into the void.
Hidden Cell: Void Locus

This environment is even more dangerous. There are only void monsters here, and they can all one shot you with their abilities. Try to take out the big ones from far away if possible, and make sure to step away from the radius of their on-death void pulse. It kills you instantly.
If you got bored of fueling the 9 void cells... sorry, there is more of that here! Look around to find 4 beacons. You need to activate and fuel them one by one in order to proceed. Similarly, you have to stand in a radius and complete a percentage. Note that if you step outside the radius while they are active, you will take damage until you get back in. If you're very lucky, you can get two of those cells spawn close enough to do both of them.
Be careful and play defensively and survive, then follow a ramp in the center of the stage to reach The Planetarium, which has our final boss!
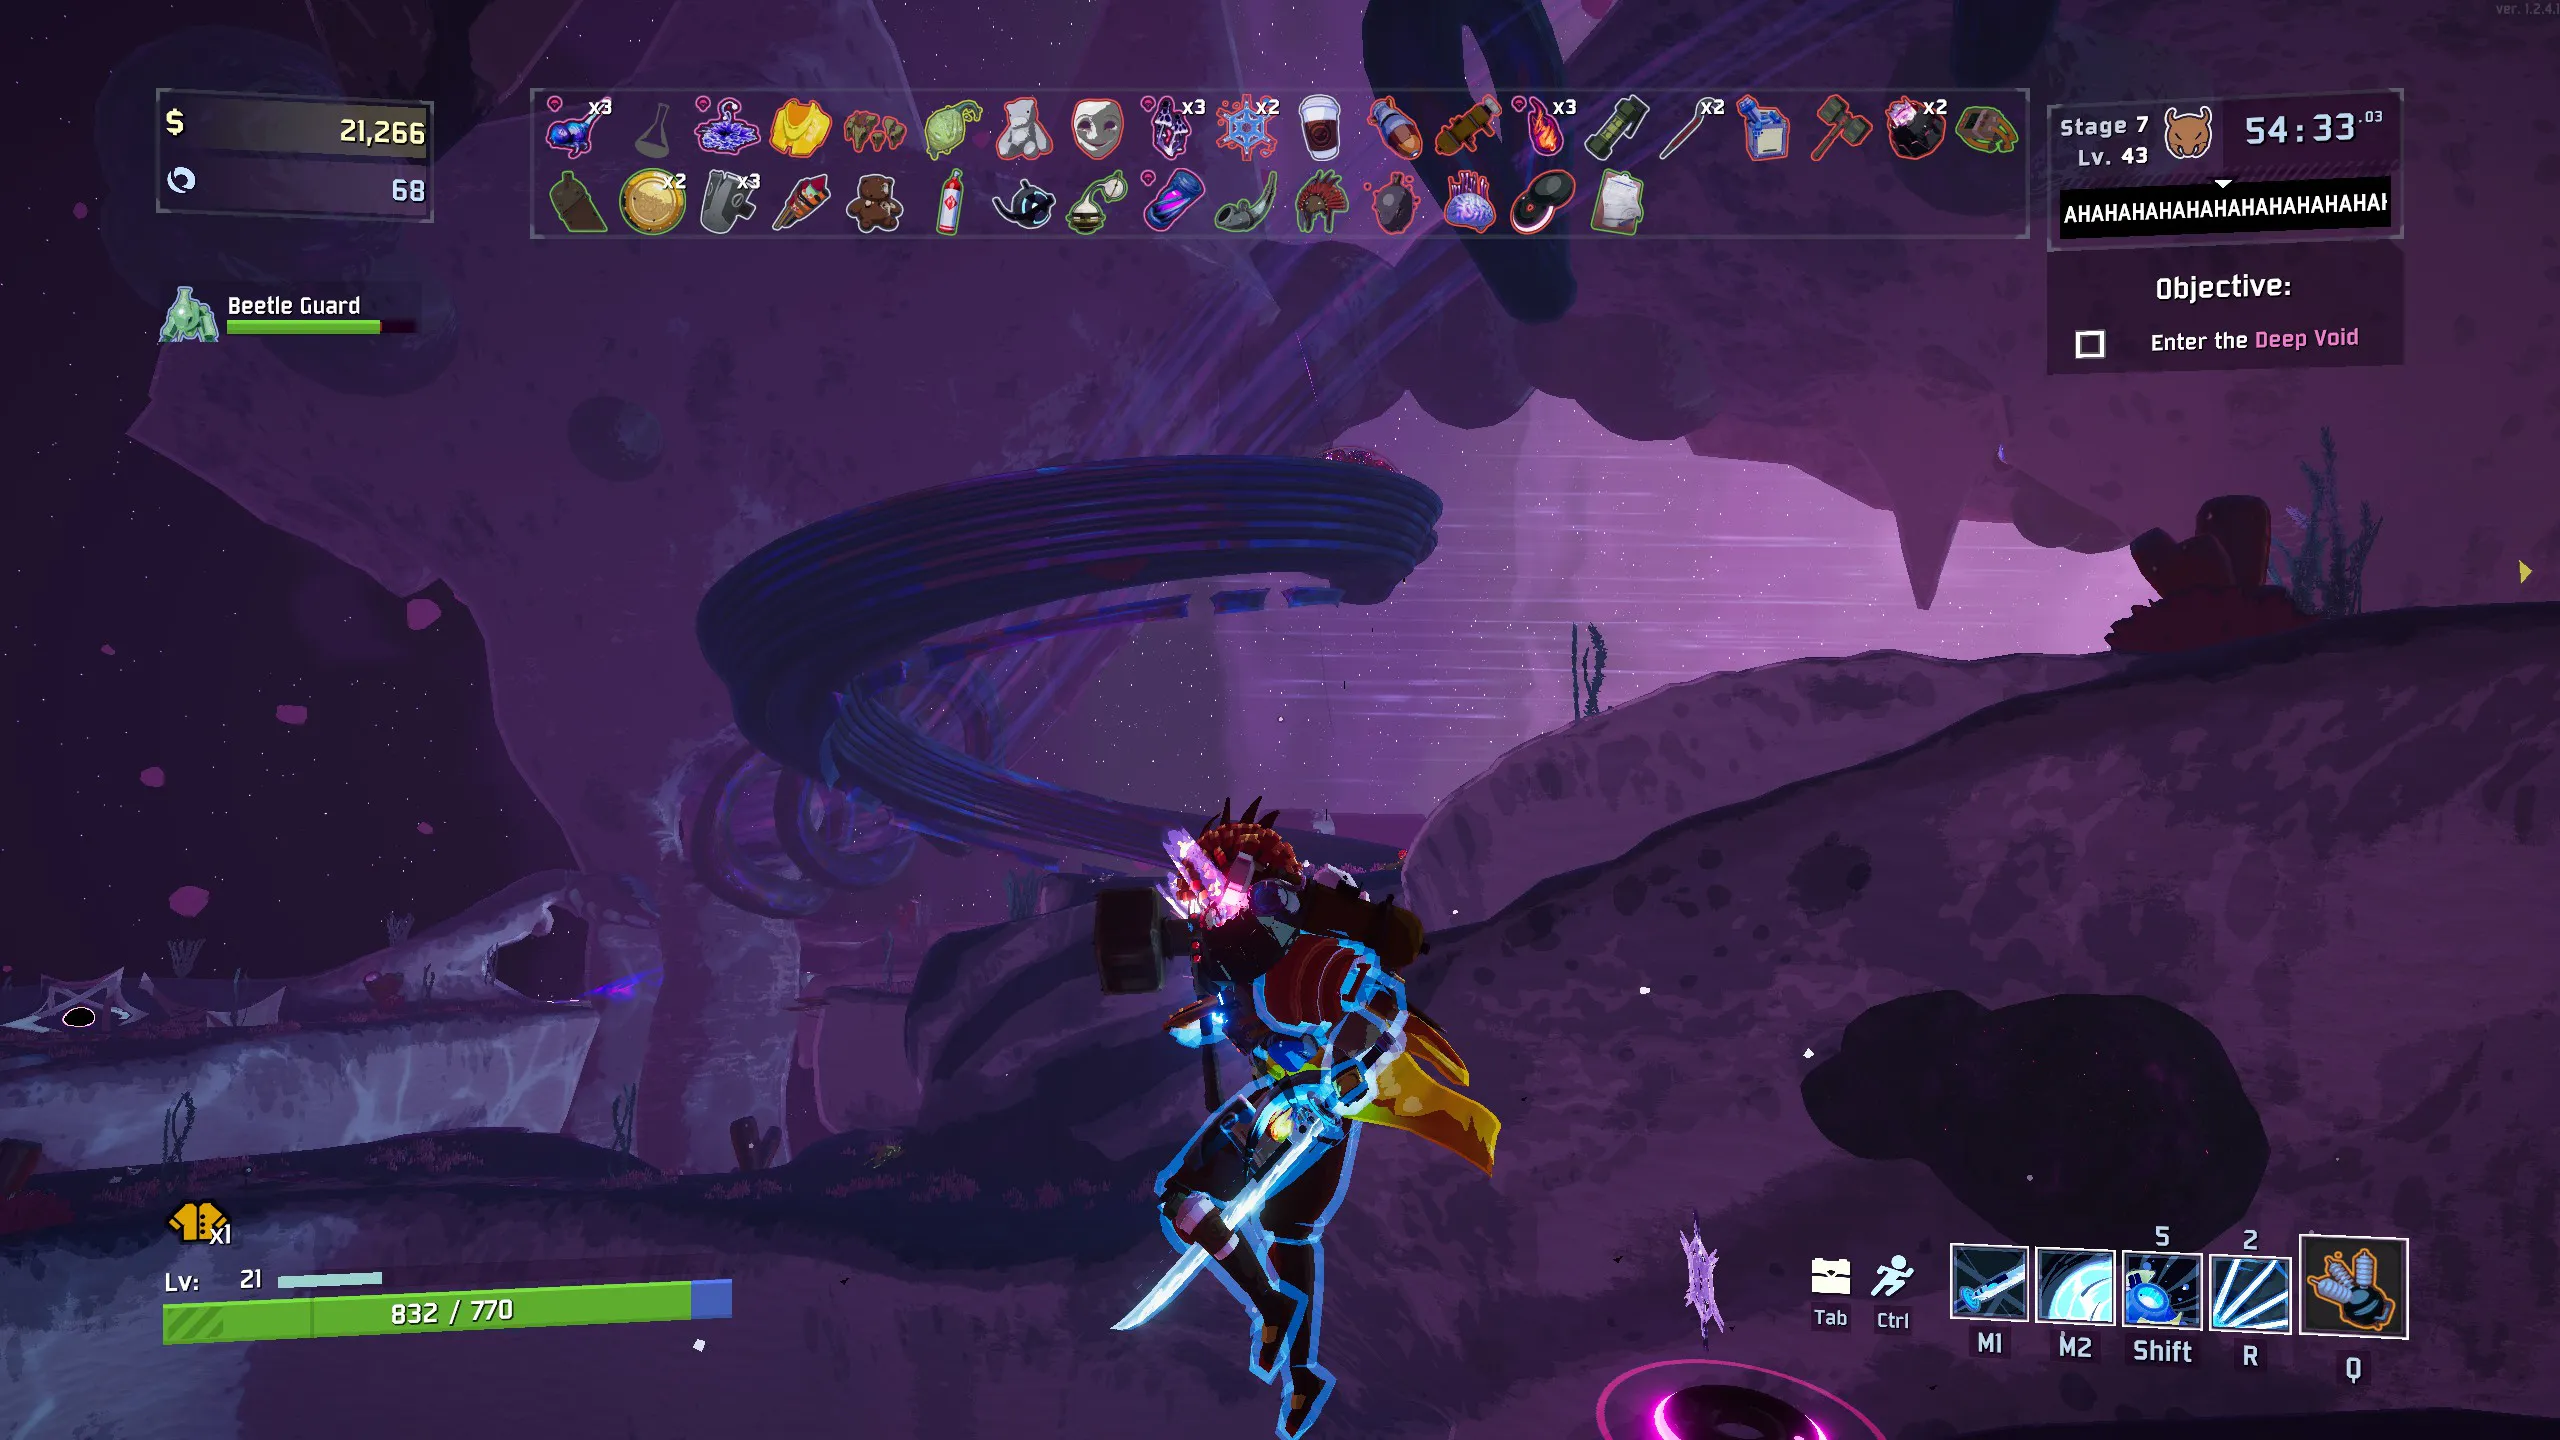
Find the Voidling after beating Mithrix

Activating all those void cells gets boring; luckily there's another way of reaching the Void Devastator in Risk of Rain 2. You can shortcut it by beating Mithrix, the standard final boss of the game. After you're done with Mithrix, instead of heading to the ship and trying to leave, go all the way back to where you spawned with the teleporter. A frog is there now. Interact with it ten times (paying a Lunar Coin each time, so the cost is 10 coins). Once that's done, a deep void portal will appear. It takes you straight to the Planetarium!
No need to fuel any void cells, thankfully.
Voidling Strategy
Hopefully, your character is so strong enough to beat it. You will need good mobility and powerful single target damage, because there are three phases to the fight. If you're ranged, you can try to "cheese" the boss by hiding behind environmental obstacles and shooting, but beware that it has both tracking projectiles that can go around corners and secondary fire that leaves damage zones on the surface.
One of the scarier attacks is a rotating beam that will go through terrain features, so you can't hide behind anything. The boss will get lower before doing it, then start rotating in 360 degrees. The beam will be oscillate up and down with the rotations. The best defense is to get as high as you can, so if you're equipped with the wings or have many jumps and other ways to keep yourself high in the air, that's best. Otherwise jump as high as you can when the beam comes at you. If you're melee, you could circle the boss as it does the beam.
The last attack is large black hole that will one shot you. Run from it as best as you can, as it tries to suck you towards it.
Once you beat it the first time, follow the portal that shows up to head to the second phase, with a brief platforming intermission. In the second phase, mobs will spawn, which might actually be helpful for you if you have some on-kill effects. After that, in the third phase, the air is unsafe once again, and you have to stick relatively close to the boss in order to not take constant damage.
I've failed this with many characters until I had a fantastic Acrid run. The poison definitely helps whittle down the health of a big boss!
Once you destroy the Voidling, your fate is unknown... but celebrate by unlocking a new survivor!


